
Making goat cheese from raw goat milk is an incredibly fun process. With a few basic ingredients, simple tools, and a little patience, you can create your own homemade cheese that’s both delicious and natural. This guide walks you through the process of making fresh, creamy goat cheese, from preparing the raw milk to aging the cheese for a more complex flavor. Whether you're an experienced chef or a beginner, this method is easy to follow and brings fantastic results.
Benefits of Using Raw Goat Milk
Raw goat milk is considered by many to be the ideal base for making goat cheese. Unlike pasteurized milk, raw milk retains all of its natural enzymes, bacteria, and nutrients, which contribute to a richer, more flavorful cheese. Some of the benefits include:
- Improved Flavor: Raw milk often has a fresher, more complex flavor compared to pasteurized milk. The milk’s natural bacteria and enzymes help develop the cheese’s unique taste.
- Better Texture: The natural fats and proteins in raw milk result in a creamier, smoother texture in your cheese.
- Health Benefits: Raw milk is often touted for its higher nutritional content, including more vitamins and minerals that are lost during pasteurization. It's also easier to digest for some people, as the natural enzymes are intact.
Support for Local Farmers: By using raw milk from local farms, you’re supporting sustainable farming practices and small-scale dairy producers.
Things You Need for Raw Goat Milk Cheese Recipe
Before diving into the recipe, gather the following tools:
- Large Pot: For heating the milk.
- Thermometer: To measure the temperature of the milk.
- Cheesecloth: For draining the whey from the curds.
- Cheese Mold: Optional, for shaping the cheese.
- Colander or Strainer: To strain out the whey.
- Large Spoon or Ladle: For stirring.
- Measuring Cups/Spoons: For accurate measurements of salt, cultures, and rennet.
Clean Towel or Cloth: To cover the cheese during the draining process.
Click to buy cream cheese with the best quality
Ingredients for Homemade Goat Cheese
To make your goat cheese, you’ll need the following ingredients:
- Raw Goat Milk: Fresh, unpasteurized milk is essential. About 1 gallon of raw goat milk will yield around 1 to 1.5 pounds of cheese.
- Cultures: The Mesophilic starter culture is the most common for making goat cheese. These bacteria help acidify the milk and develop the flavors.
- Rennet: A natural enzyme used to curdle the milk. You can use either animal or vegetable rennet.
- Salt: For flavoring. Sea salt or kosher salt is recommended.
Optional Add-ins: Herbs, garlic, or spices if you want to flavor your cheese.

Step-by-Step Goat Cheese Recipe
Making goat cheese at home is simple when you follow this easy recipe. Here’s how to do it:
Step 1: Prepare the Milk
- Pour the raw goat milk into a large pot. If you’re using more than 1 gallon of milk, adjust the quantities accordingly.
- Slowly heat the milk to around 85°F (29°C). Use a thermometer to make sure the milk doesn't get too hot.
Step 2: Add the Starter Culture
- Sprinkle your mesophilic starter culture over the milk and let it rehydrate for a minute or so.
- Stir gently with a large spoon to mix the culture into the milk. Let it sit undisturbed for 30 to 45 minutes to allow the cultures to begin working.
Step 3: Add Rennet
- In a small cup, dissolve 1/4 teaspoon of rennet (or follow the package instructions) in 2-3 tablespoons of cool, non-chlorinated water.
- Add the rennet solution to the milk, stirring gently for about 1 minute to evenly distribute it.
- Cover the pot and let it sit undisturbed for 12 to 18 hours at room temperature, or until the curds form and the whey separates. You should see a clean break when you insert a knife or spoon into the curd.
Step 4: Cut the Curds
- Once the curd has set, use a long knife or curd cutter to cut the curds into small cubes, about 1/2-inch in size.
- Let the curds rest for 5 to 10 minutes to firm up slightly.
Step 5: Cook the Curds
- Slowly heat the curds to 105°F (40°C) over the course of about 30 minutes, gently stirring occasionally.
- Once the curds reach this temperature, let them rest for another 15 minutes.
Step 6: Drain the Curds
- Line a colander or strainer with cheesecloth and set it over a large bowl to catch the whey.
- Pour the curds into the colander, allowing the whey to drain out. If you want a firmer cheese, you can let the curds drain for several hours or overnight.
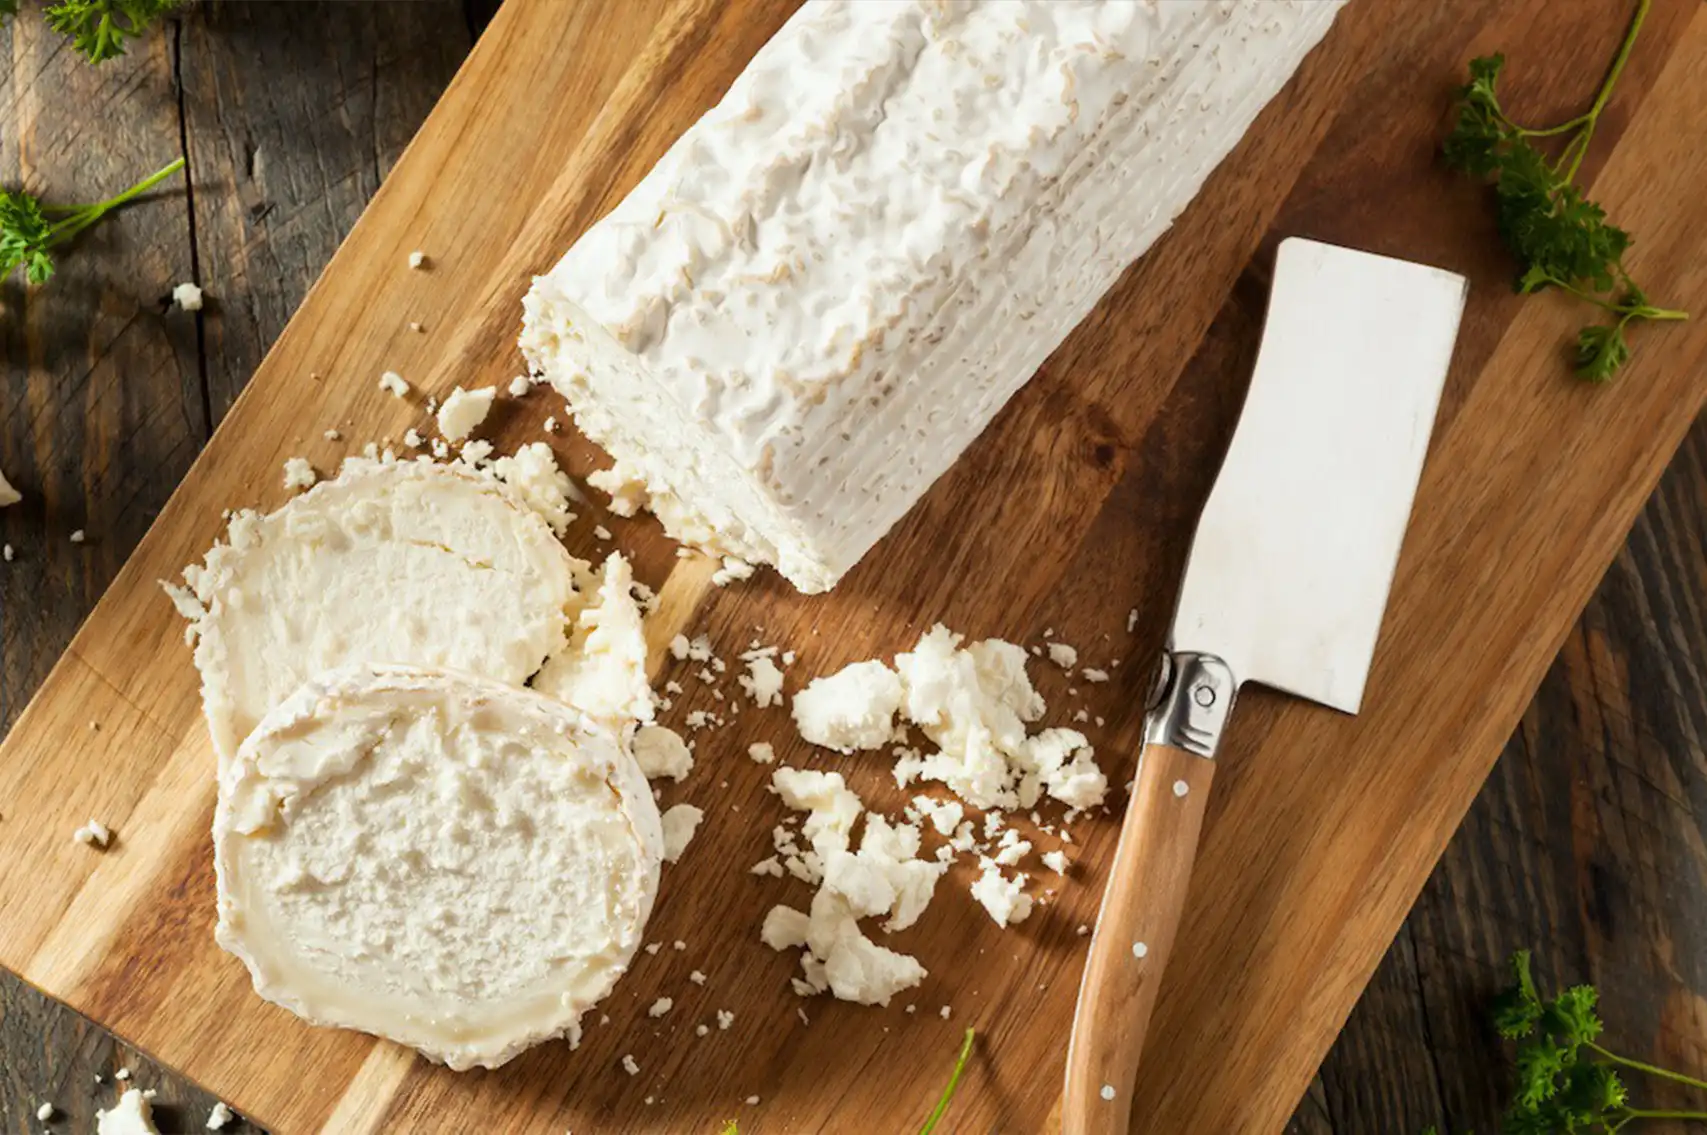
Step 7: Salt and Shape the Cheese
- Once the curds are drained to your liking, mix in salt to taste.
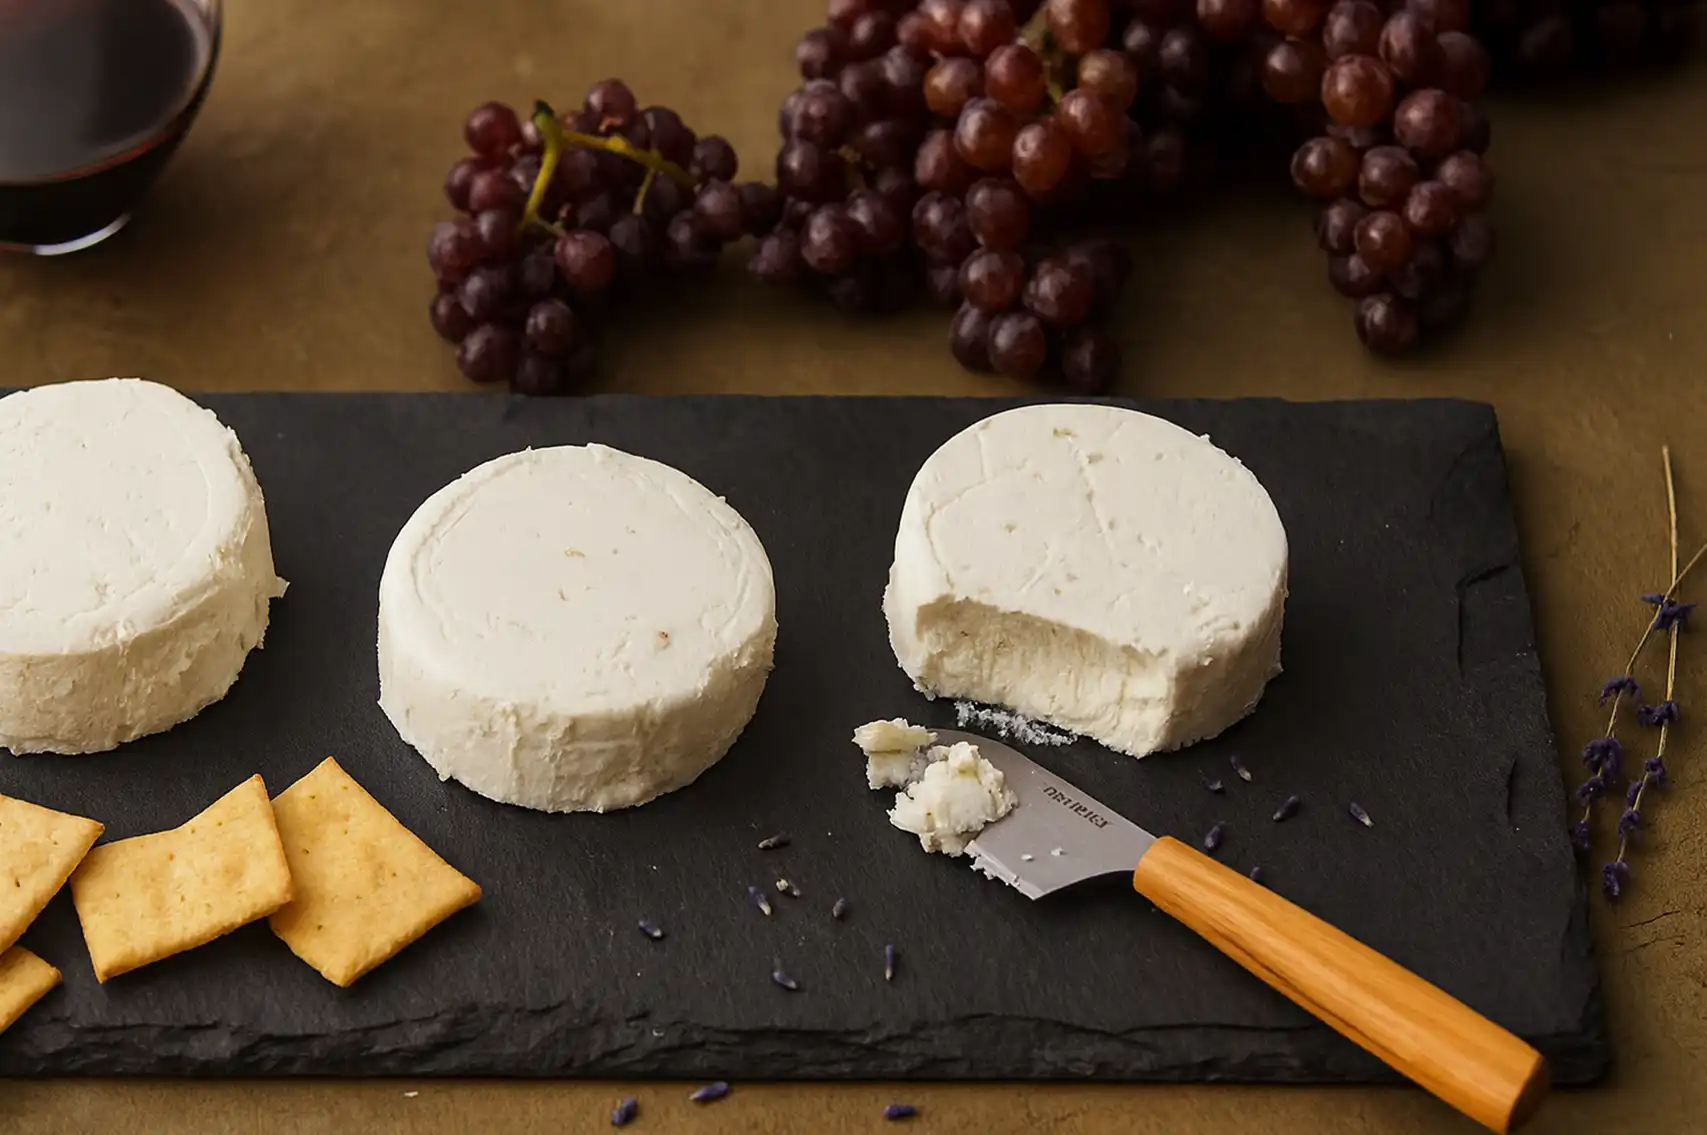
- Transfer the curds into a cheese mold (if you want a specific shape) or form a round ball of cheese by hand.
And Done! Your goat cheese is ready. Aging goat cheese at home might be tricky, but you can consume it without aging it. Aging cheese needs a special temperature and a controlled environment.
Learn more: How to Make Cheese Sauce with Cornstarch
Goat Cheese Making Tips
- Use Clean Equipment: Make sure everything is sanitized to avoid introducing unwanted bacteria.
- Monitor Temperature Carefully: Too much heat can kill the cultures, while too little heat can prevent the curds from setting.
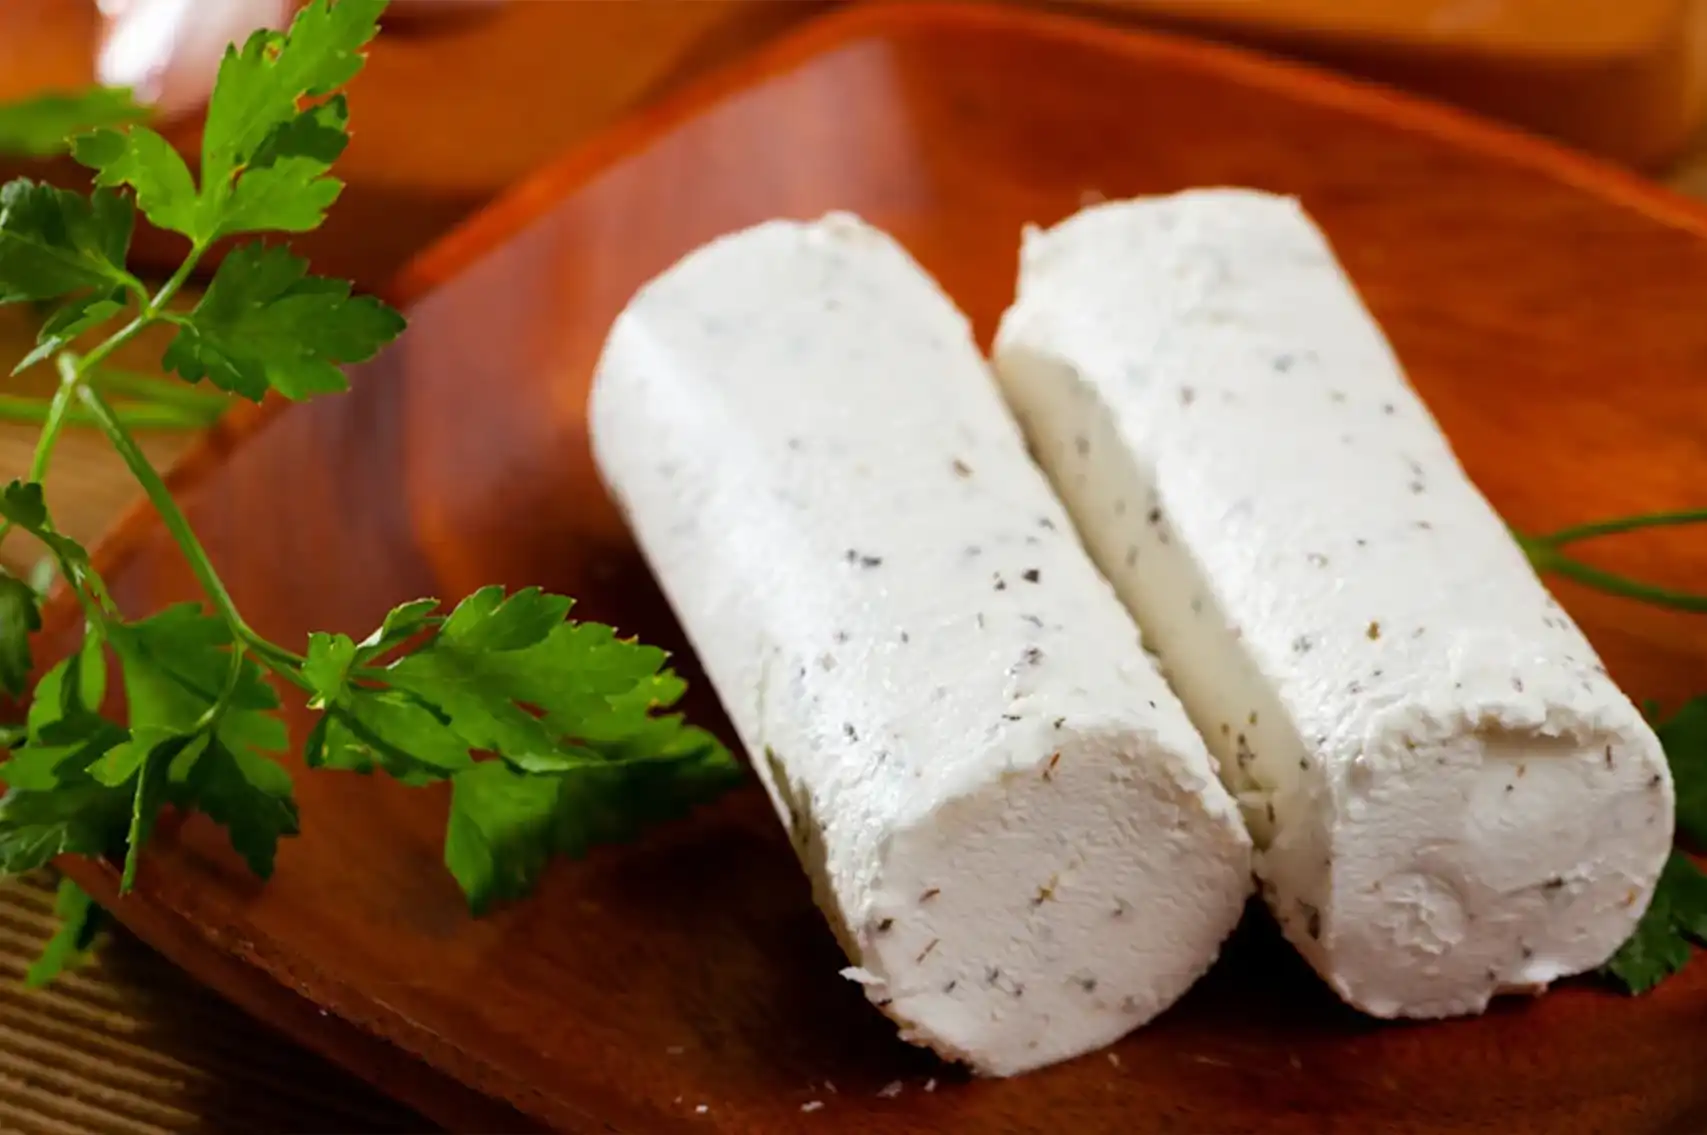
- Experiment with Flavors: Add herbs like thyme, rosemary, or garlic to create unique flavors.
Avoid Overworking the Curds: Gently handle the curds to maintain a smooth texture and prevent them from becoming too crumbly.
Frequently Asked Questions (FAQ)
Fresh homemade goat cheese typically lasts 1 to 2 weeks when stored in the refrigerator. If you’ve aged the cheese, it can last 3 to 4 weeks, but it’s always best to check for any signs of mold or spoilage.
Yes, rennet is crucial in the cheesemaking process. It helps coagulate the milk, separating the curds from the whey. Without it, the milk will not set properly to form cheese.
You can freeze homemade goat cheese, but keep in mind that freezing may change its texture. It's best used in cooked dishes after freezing rather than fresh. To freeze, wrap the cheese tightly in plastic wrap and place it in an airtight container.